August 10, 2024
Summary: In this tutorial, we will go through the integration of PostgreSQL with a Django Application.
Table of Contents
Introduction to Django
Django is a high level full-stack open-source web framework written in Python, that encourages rapid development and clean, pragmatic design.
Django, in its ‘out-of-the-box’ state, is set up to communicate with SQLite - a lightweight relational database included with the Python distribution. So by default, Django automatically creates an SQLite database for your project.
In addition to SQLite, Django also has support for other popular databases that include PostgreSQL, MySQL, and Oracle.
However, PostgreSQL has a number of features that are not shared by the other databases Django supports, which makes it an ideal choice for a Django app in production.
Install Django within a Virtual Environment
At first make sure you have Python 3 installed.
Now we’ll have to set up a virtual environment. This is incredibly significant as you’re building a huge application and you don’t need various versions of various components to conflict with each other.
Install virtualenv by entering the following in your command prompt:
pip install virtualenv
With pip, Django can be easily installed from the command line with a simple one-line instruction.
Once you’re in that directory, create a virtual environment by typing:
python3 -m venv myenv
You can give the environment any name you want. Now activate the environment with:
source myenv/bin/activate
This must be done before we install any applications within the virtual environment.
If the virtual environment is activated, you would see (myenv) in the command prompt. To exit the virtual environment, simply type “deactivate”.
With the virtual environment active, install Django.
pip install Django
We will also need to install psycopg2. psycopg2 is a package that will allow Django to use the PostgreSQL database. Similarly, to install, write:
pip install psycopg2
Create a new Django Project
With your Python components installed, you can now create the actual Django project files.
Since you already have a project directory, you will tell Django to install the files here. It will create a second level directory with the actual code, which is normal, and place a management script in this directory. The key to this is that you are defining the directory explicitly instead of allowing Django to make decisions relative to our current directory:
django-admin startproject myproj ~/myprojdir
At this point, your project directory (~/myprojdir in this example case) should have the following content:
~/myprojdir/manage.py: A Django project management script.~/myprojdir/myproj/: The Django project package. This should contain the__init__.py,settings.py,urls.py,asgi.py, andwsgi.pyfiles.~/myprojdir/myenv/: The virtual environment directory you created earlier.
Configure the Django Database Settings
Open the settings.py file of your project and scroll straight to the database section, which should look like this.
DATABASES = {
   'default': {
        'ENGINE': 'django.db.backends.sqlite3',
        'NAME': os.path.join(BASE_DIR, 'db.sqlite3'),
    }}
We need to update these settings to integrate our PostgreSQL with the project.
DATABASES = {
    'default': {
        'ENGINE': 'django.db.backends.postgresql_psycopg2',
        'NAME': 'mydb',
        'USER': 'myuser',
        'PASSWORD': 'mypass',
        'HOST': 'localhost',
        'PORT': '5432',
    }}
Let’s quickly go over the settings:
DATABASES - This constant is a dictionary of database connection information and is required by Django. You can have multiple connections to different databases, but most of the time, you will just need an entry called default.
default - This is the default database connection configuration. You should always have a default set of connections settings.
'ENGINE': 'django.db.backends.postgresql_psycopg2' - This tells Django to use the Postgres backend. This, in turn uses psycopg2, Python’s Postgres library which we installed earlier.
'NAME': 'mydb' - The name of the database you want to connect to.
'USER': 'myuser' - The User with access to the database.
'PASSWORD': 'mypass' - The password for your database user.
'HOST': 'localhost' - The address of the database server you want to connect to.
'PORT': '5432' - The port you want to connect to, which by default is ‘5432’.
Test your Project
Furthermore, you can now create a superuser and login to the admin dashboard.
python3 manage.py createsuperuser
You will be prompted to provide login credentials.
Now that everything is set up, test whether your database is performing by running the Django development server.
python3 manage.py runserver 0.0.0.0:8000
In your web browser, visit your server’s domain name or IP address followed by :8000:
http://server_domain_or_IP:8000
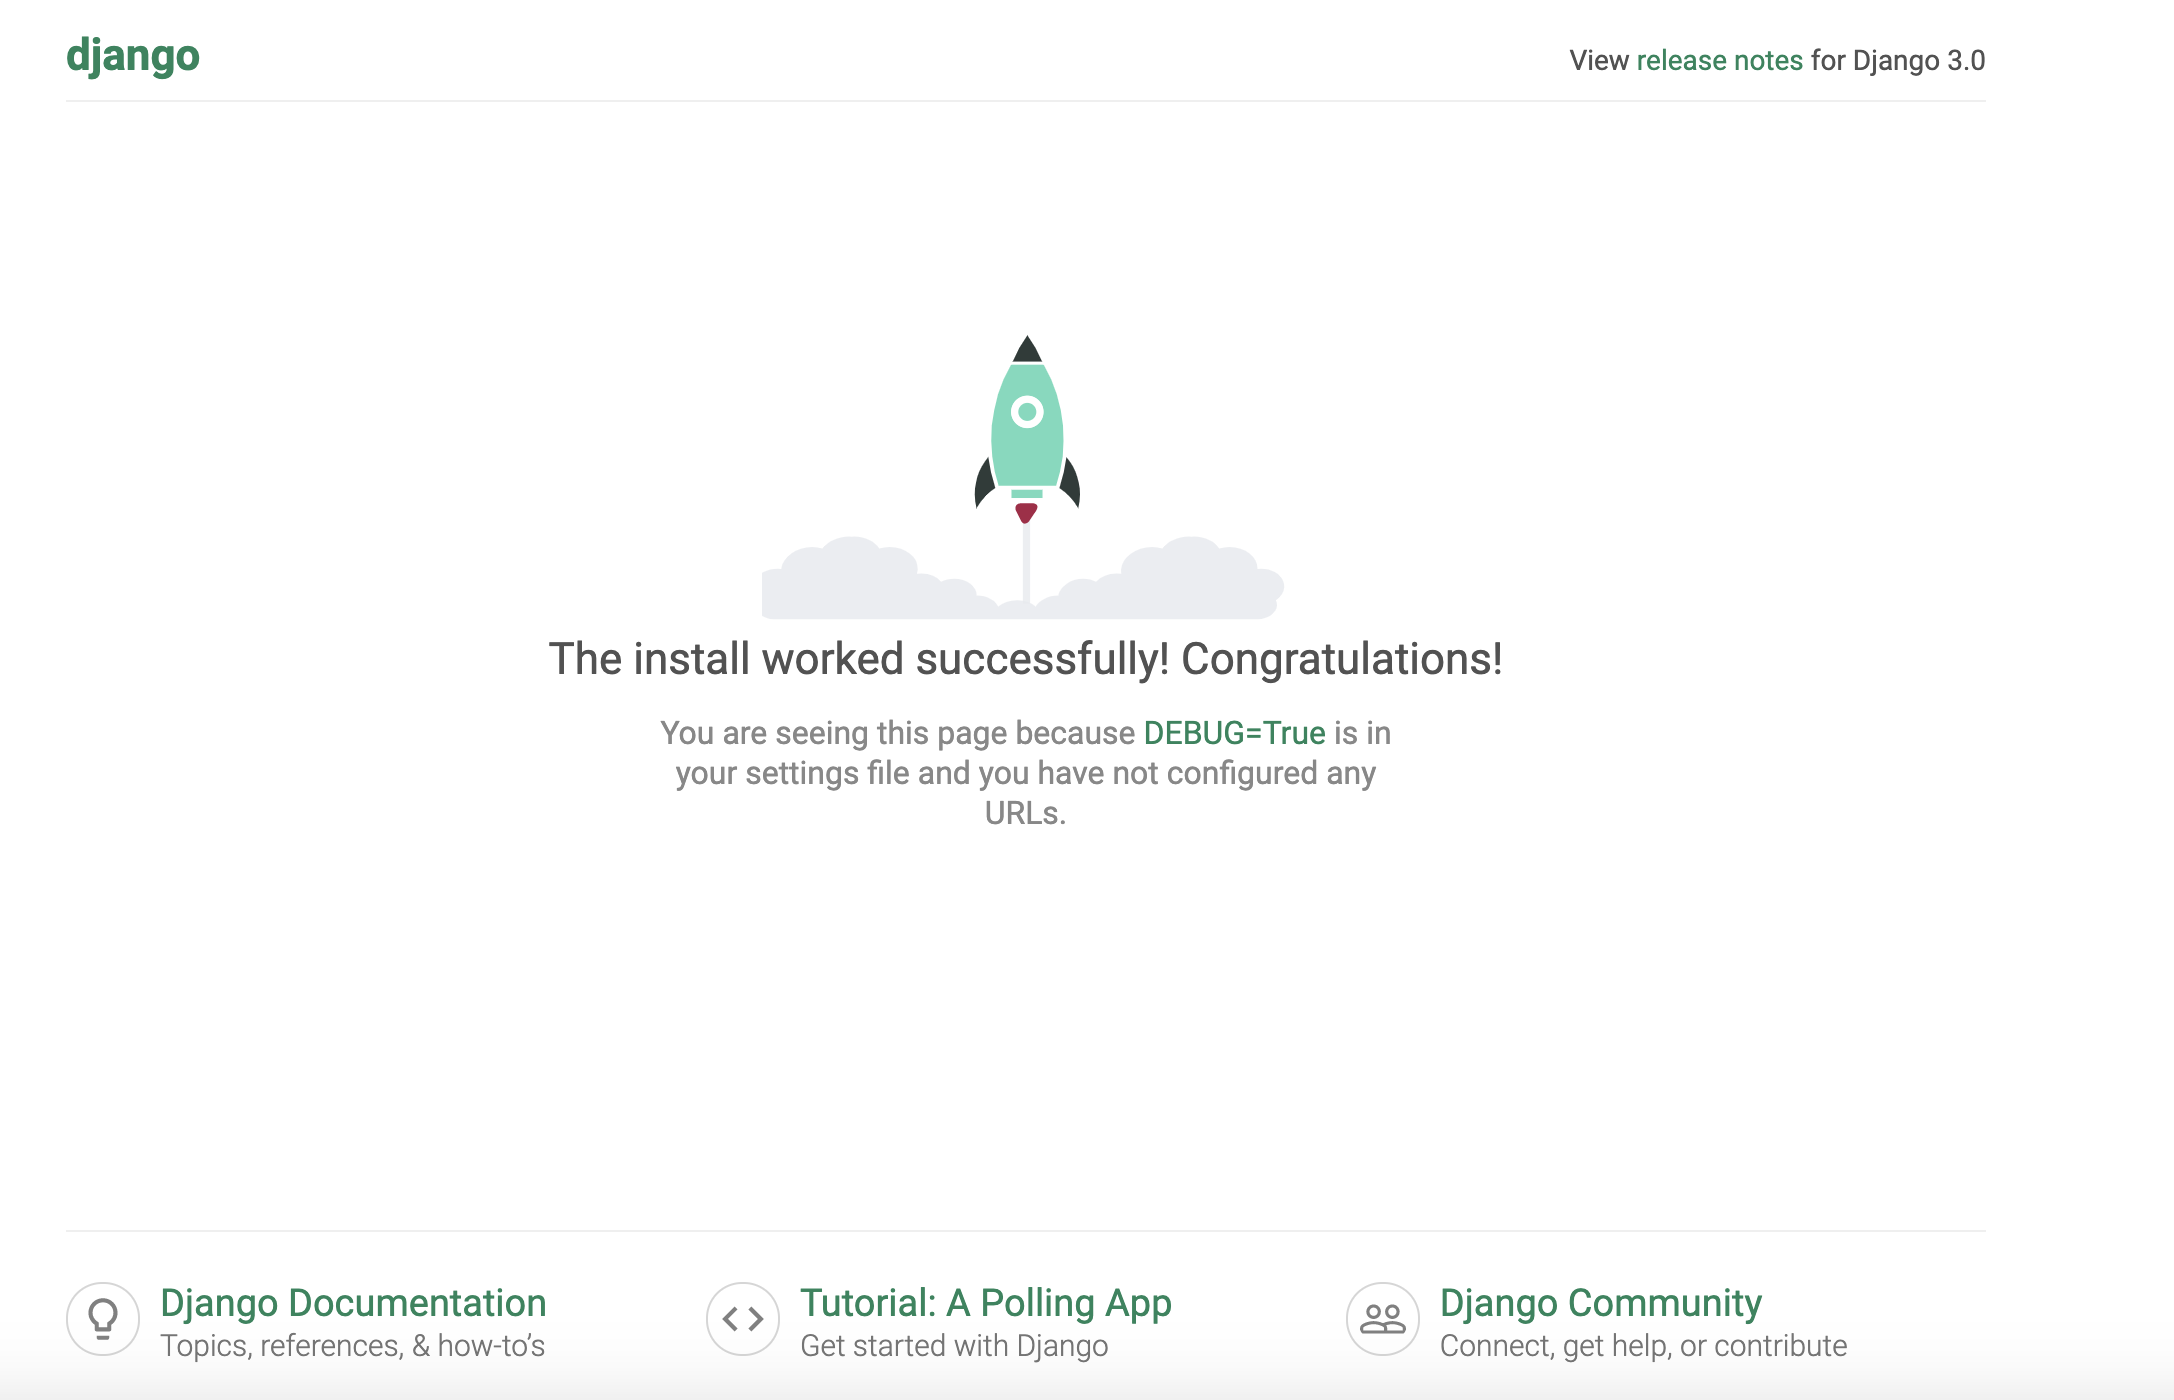
You should receive the default Django index page:
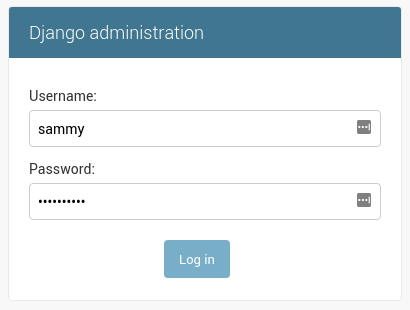
If you append /admin to the end of the URL in the address bar, you will be prompted for the administrative username and password you created with the createsuperuser command:
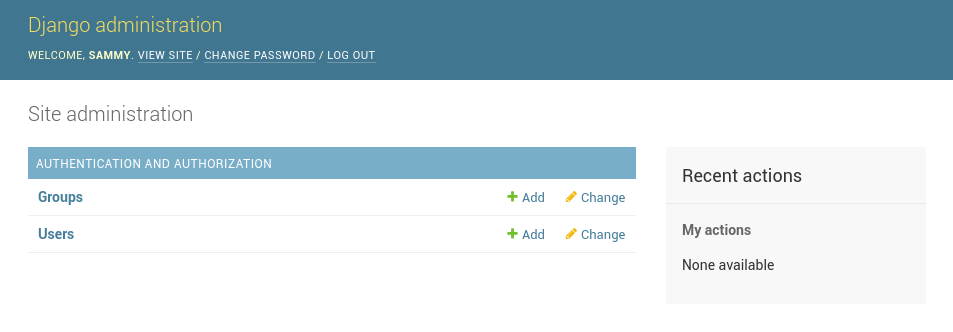
After authenticating, you can access the default Django admin interface:
When you are finished exploring, hit CTRL-C in the terminal window to shut down the development server.